Presentation is the next important step after creation. Photography plays a huge role in this. For today’s Tool Tip Friday, I will talk about my photo equipment for product photography. These include the camera, lenses, reflectors, backdrops, and clamps.
Since I’m also a photographer, I use a professional camera for all of my shooting needs. These include photographing my sculptures and paintings. I use a Canon 5D Mark III body with a few different lenses. My main go-to piece for photographing miniature is a Canon 100mm f/2.8 L IS macro lens. It lets the photographer get really close to the subject and take clear pictures of tiny items. To photograph miniature in my hands and to capture my paintings, I use a Canon 16-35mm f/4 L IS lens. It is a wide angle zoom lens, so it allows to easily photograph subjects held in hand by capturing a wide area in a single shot. IS stands for Image Stabilizer, and it helps to get a steady shot with a handheld camera. For work-in-progress shots, I use a Canon 50mm f/1.8 STM lens. This lens allows the photographer to take good pictures in low-light conditions — thanks to the wide aperture (f/1.8). STM stands for Stepping Motor; it allows for silent and smooth autofocus.
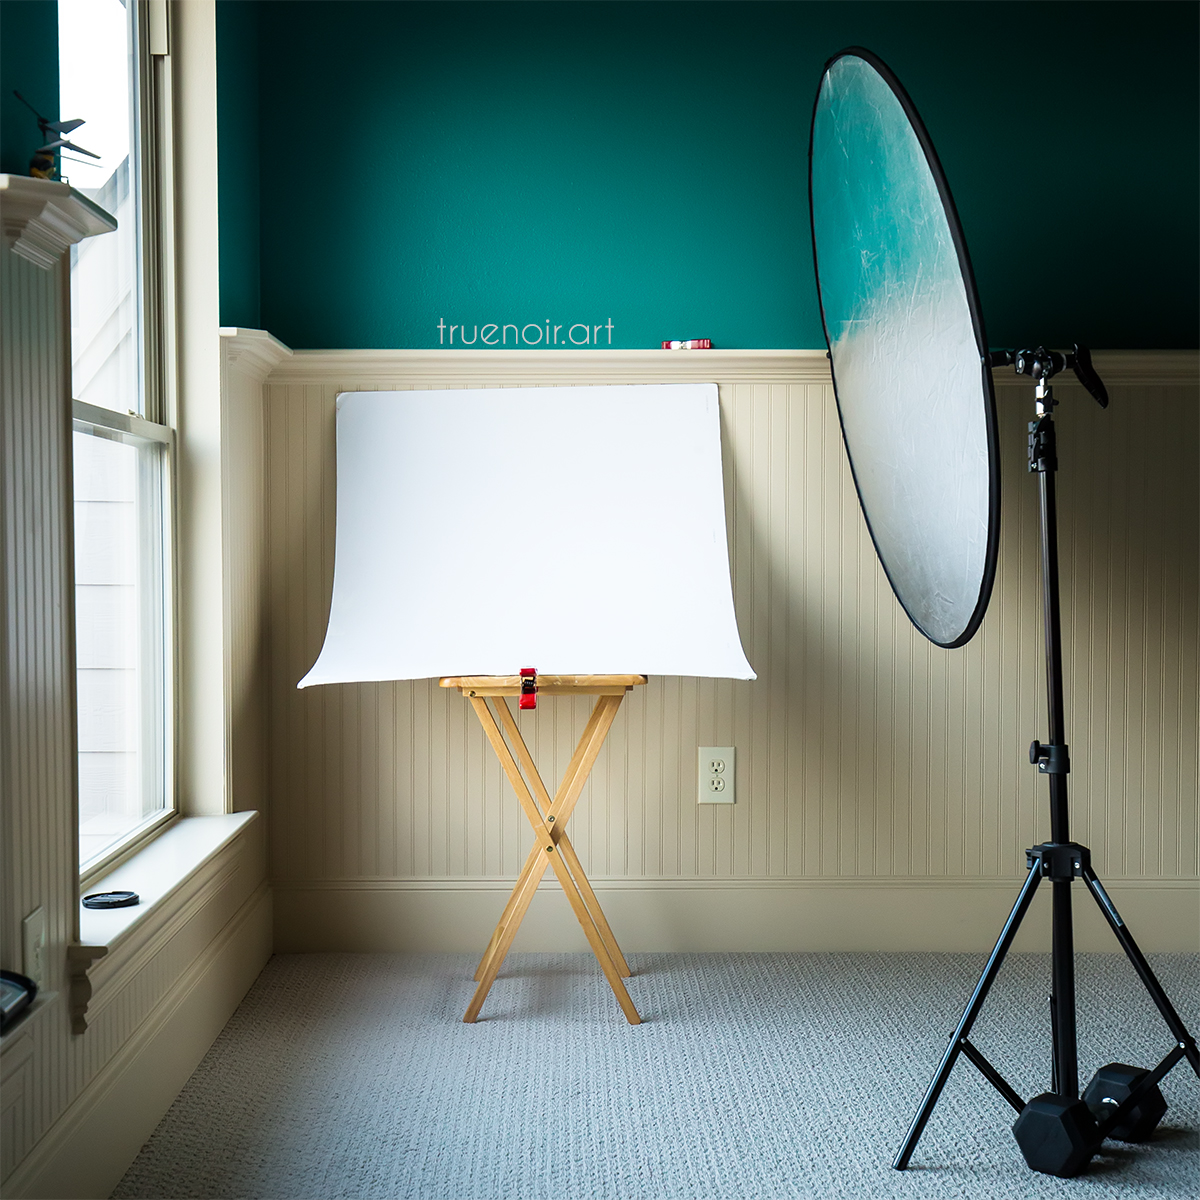
While this helps to get good quality photographs, it is not a requirement. The main requirement is natural light or a lightbox. I use a window as my main source of light, and I try to get the brightest light of the day, but not direct sunlight. On the opposite side of the window, I place a large reflector. This helps to brighten the dark shadows and light up the overall scene. I use a 5-in-1 collapsible Interfit reflector with a light stand and a holder arm. The reflector has silver, golden, black, white, and translucent sides. Normally, I use the silver side, but if I want to warm up the scene, then the golden side comes in handy. The translucent one is hidden between the silver and white sides (or golden and black, depending on which side is used), and it can be released with a zipper along the edge of the reflector. It is great for situations when one has very bright direct sunlight that creates harsh and dark shadows. By using this translucent fabric, one can diffuse the light and create softer shadows and highlights. By the way, a white piece of paper or aluminum foil would work as a reflector, too! I use this little trick whenever I need to light up some shadows for work in progress shots.

The backdrop can be anything really, but I prefer plain colors as they help viewers concentrate on the item without any distractions. My main backdrops are combined in a single sheet of poster board of matte white and black colors. I use these two colors to help my items really pop from the pictures: the white backdrop for darker items, and the black backdrop for white or pastel items. These are basic principles of contrast, but they make a huge difference.
Finally, I use clamps to secure backdrops and sometimes other equipment. These are the simplest clamps that are sold at any hardware store. The metal ones are a little tough to open, but they have great grip. The plastic ones are very easy to use, and they hold pretty well, but one has to make sure that they’re really in place. Additionally, they have a little bit of a tooth on the inner side of the clamp. Therefore, they might leave marks if used on something delicate like artworks; one might have to use an extra sheet of paper or artist’s tape to prevent this from happening.

Thank you for reading about my photography setup, and I hope this information was useful!
Leave a Reply